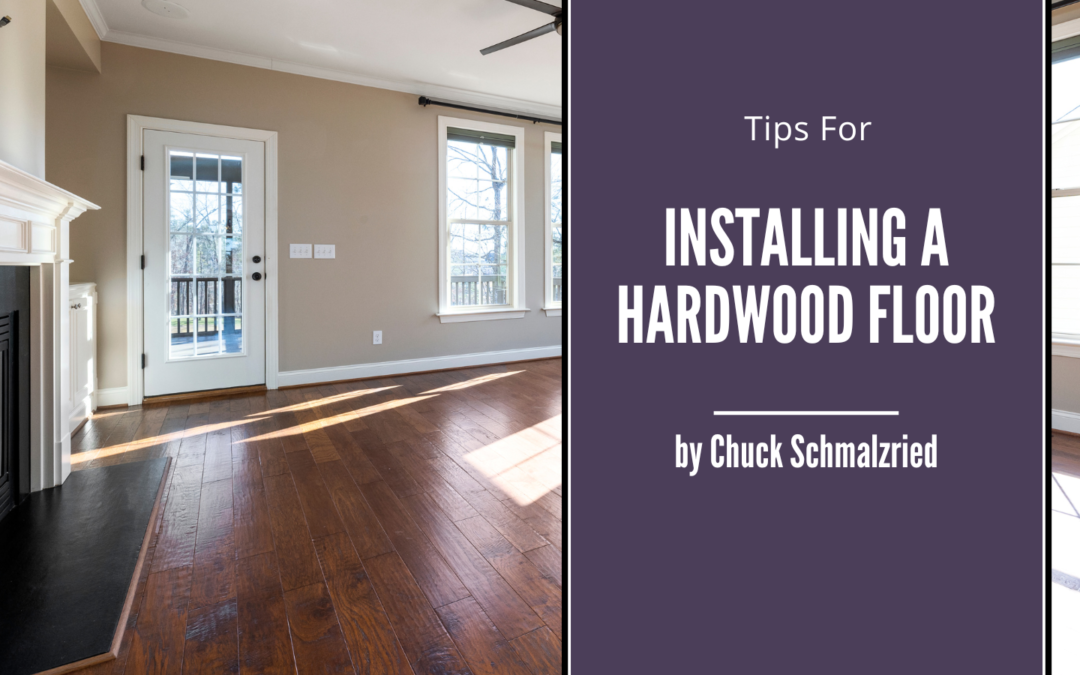
It’s hard to deny the appeal of a freshly installed hardwood floor. They look sleek, they’re easy to clean, and they feel great to walk around on. Installing your hardwood floor is rather simple as well, even without any prior experience! A few useful tips can go a long way though, and that’s what we’re here to discuss. Here are a few tips to help you install your new hardwood floor.
Consider Your Installation Methods
There are three main types of hardwood floor installation methods: nail-down, click-lock, and glue-down. The former is commonly used for its permanence and is the most common type of hardwood floor installation. If your home’s floor is made of wood, you must first create a wood subfloor, which can be done with either plywood or a combination of both. The process of nail-down hardwood floor installation is very cost-effective. Glue-down involves securing hardwood to the surface of the subfloor, which is done using a strong adhesive. The glue-down method with a cement subfloor as well.
Read The Directions
Before you start the process of installing your new hardwood floor, make sure that the manufacturer has issued clear and consistent installation instructions. While this may seem obvious, you’d be surprised how many people completely skip the directions! Not following the included directions can bring up some rather large headaches. Some warranties, for instance, are dependent on following the instructions provided by the manufacturer.
Take A Look At The Subfloor
Before you start the hardwood floor installation process, make sure that your home’s subfloor is level. This will allow you to install the floor without any variations. If the level is only minor, you can sand down the raised spots and fill in the low ones.
Be Sure To Acclimate The Wood
The amount of moisture that’s in the air can cause the wood to expand or contract, which can lead to a gap in the floor in the winter and a crack in the summer. To prevent this, put lay the hardwood flooring out in the room it will be installed in for about a week before actually installing it. Make sure that the room’s temperature is set to whatever you typically have it at. Ideally, the room should stay at 65 to 75 degrees Fahrenheit. Be aware that even with proper acclimation, there’s a chance the wood will still expand and contract. This is why it’s wise to leave about a quarter-inch around the perimeter of your installation. Don’t worry, your baseboard and molding should hide this.

